McAze logo
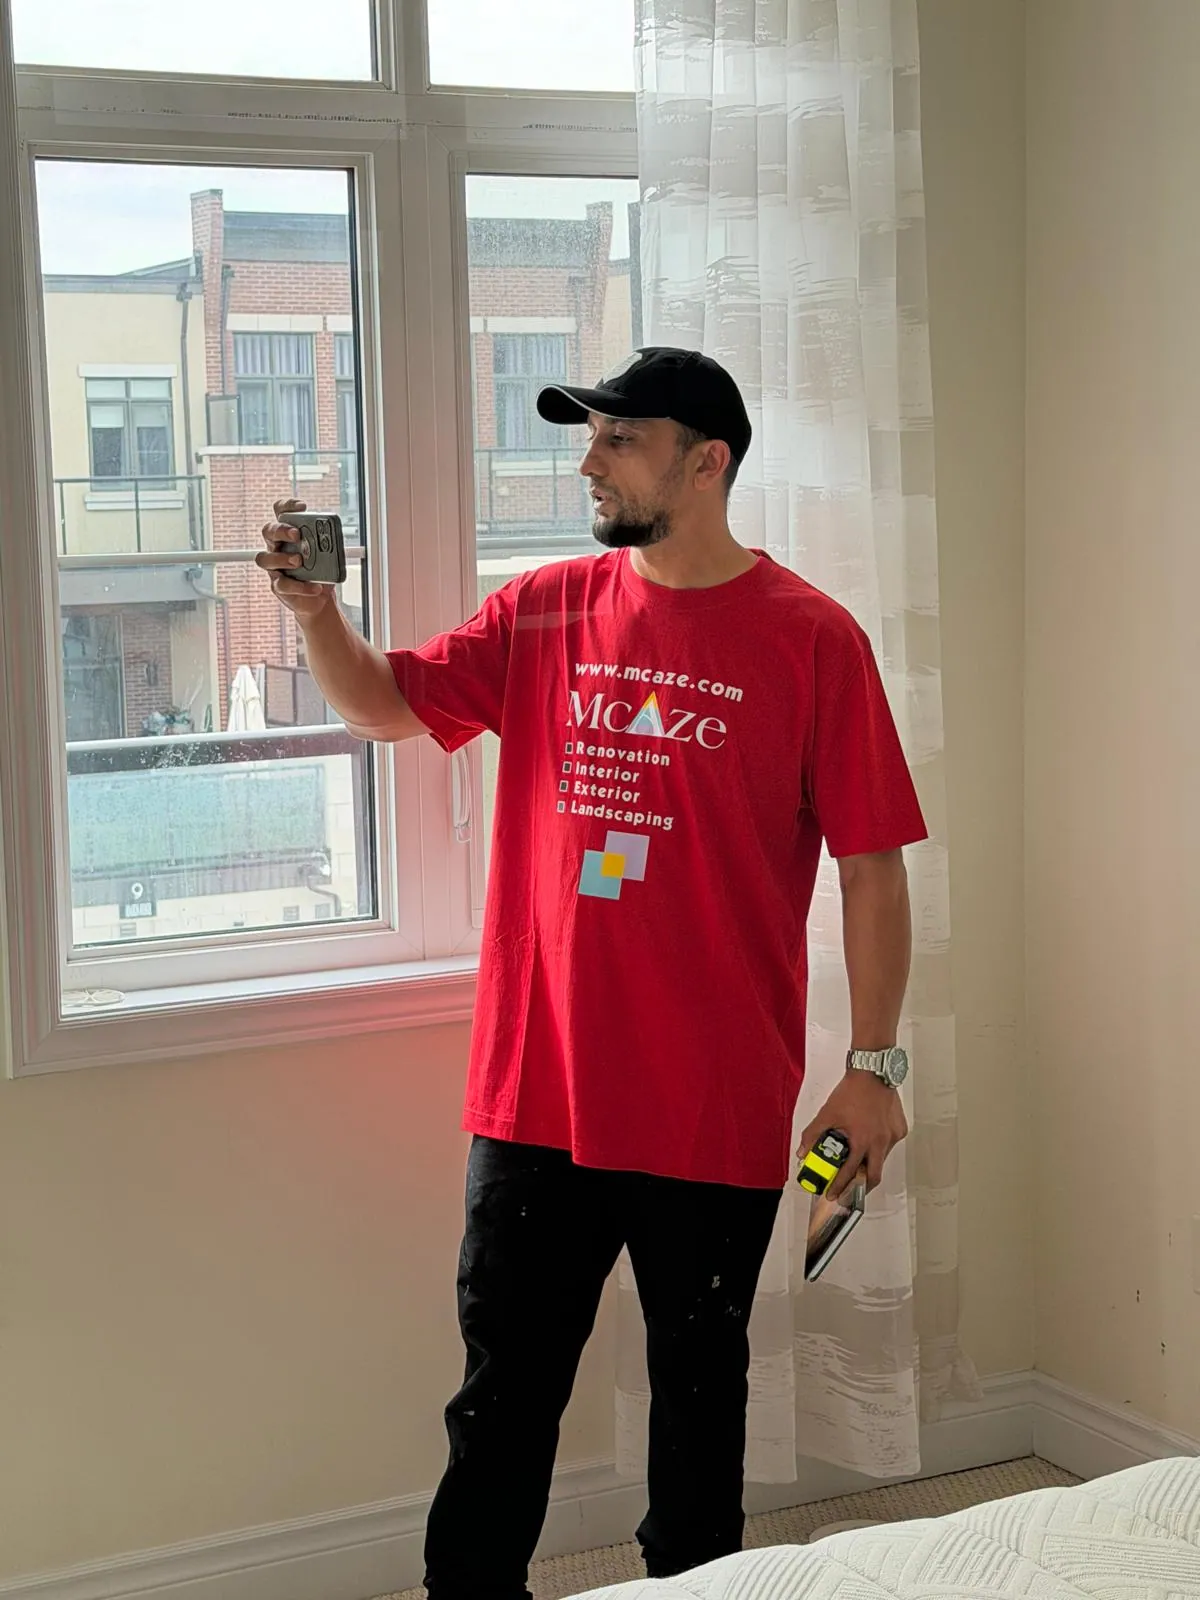
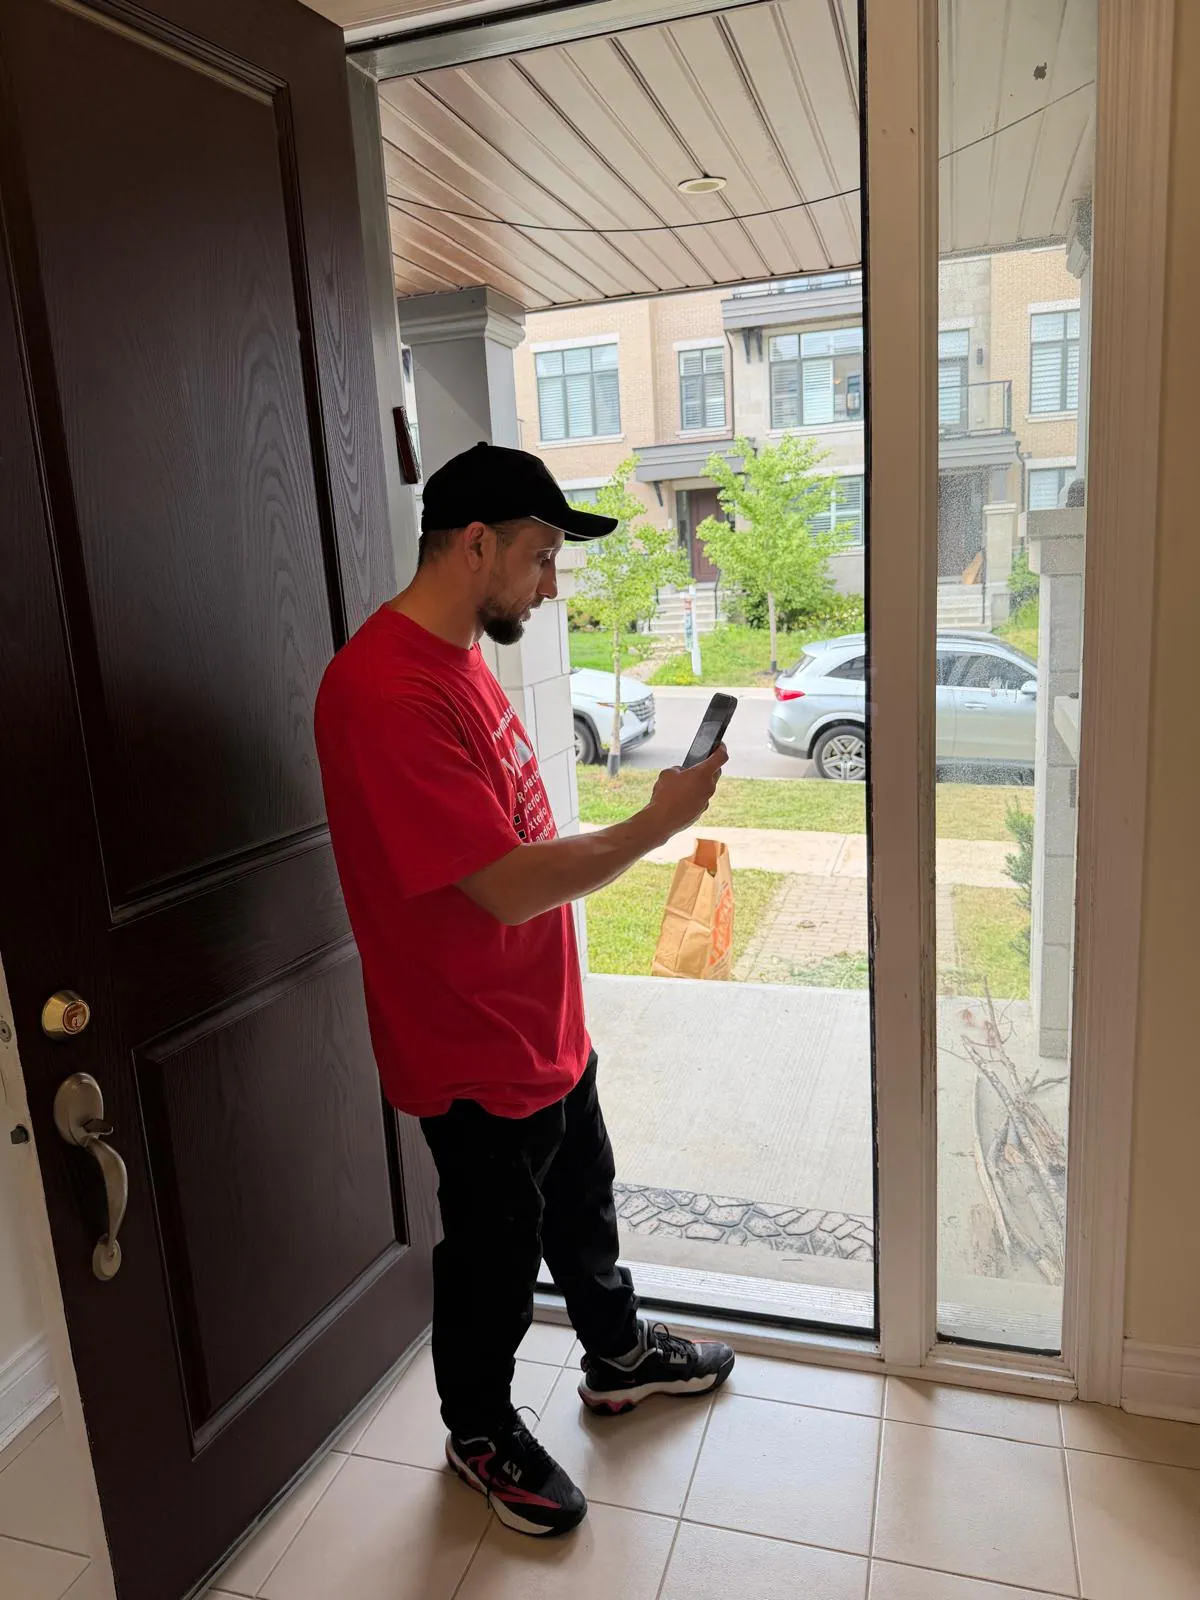
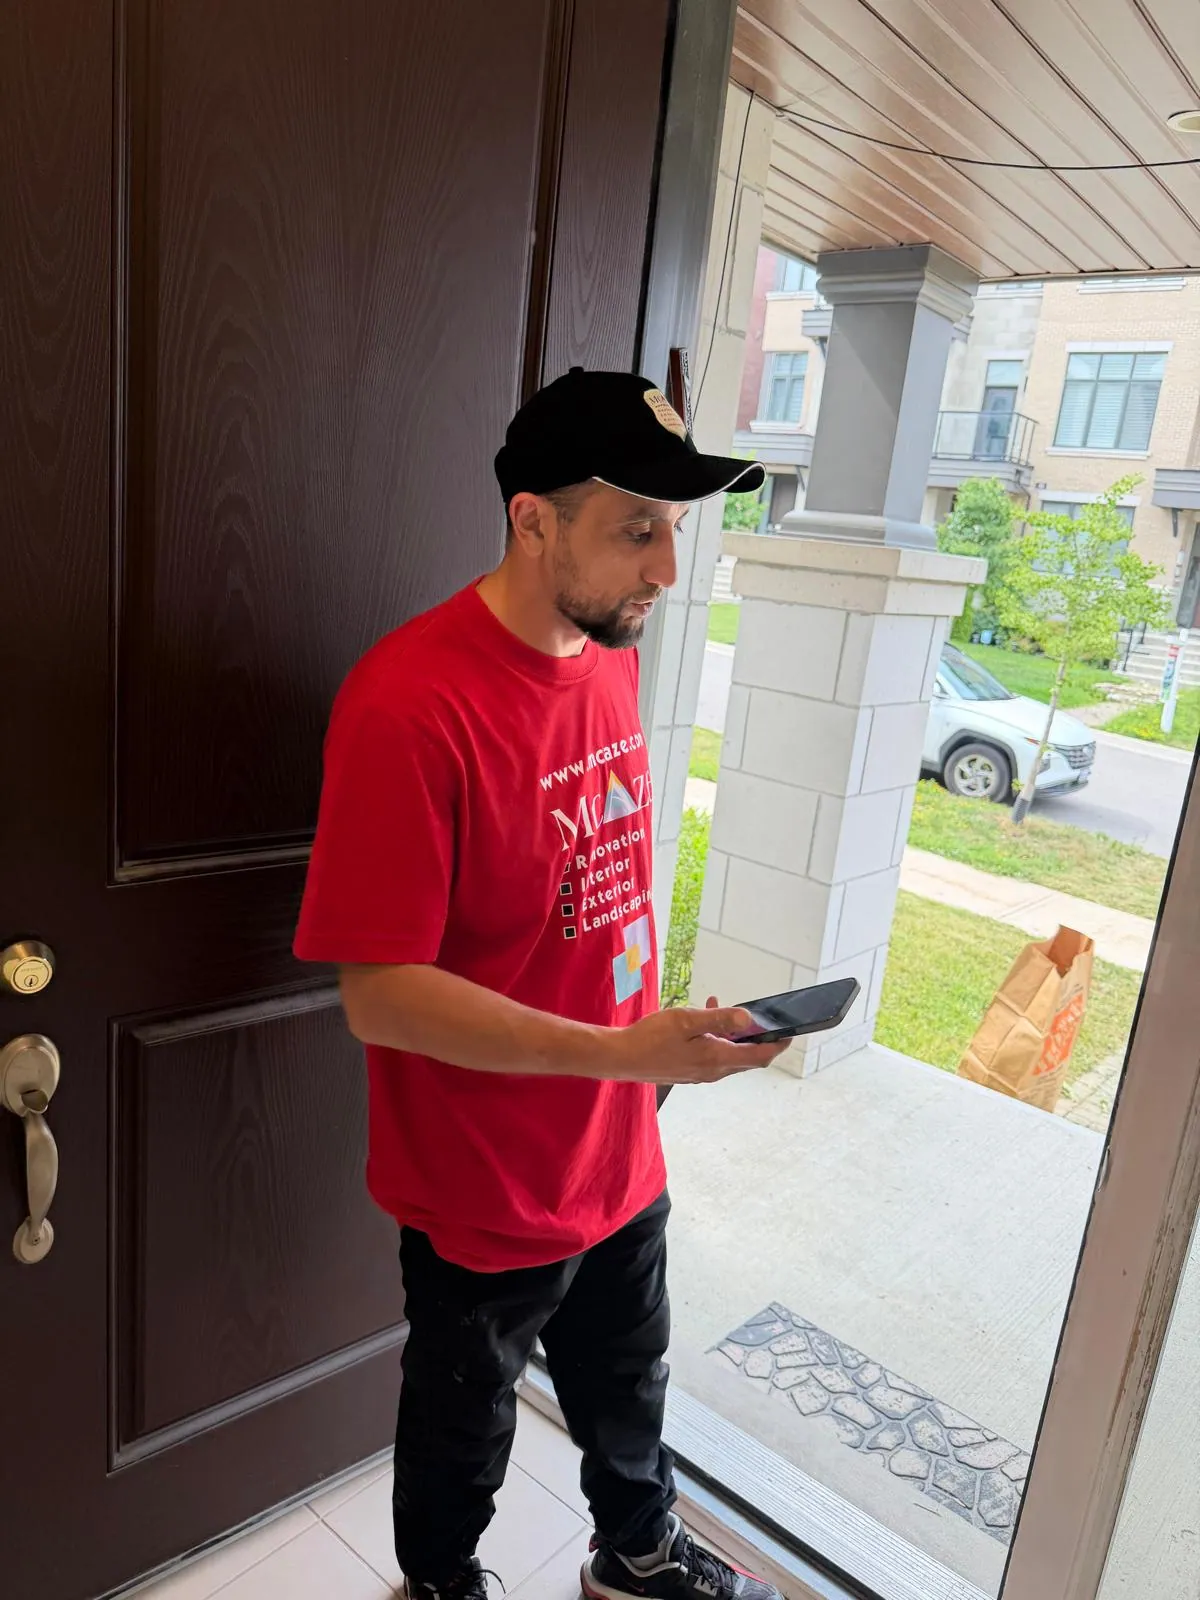
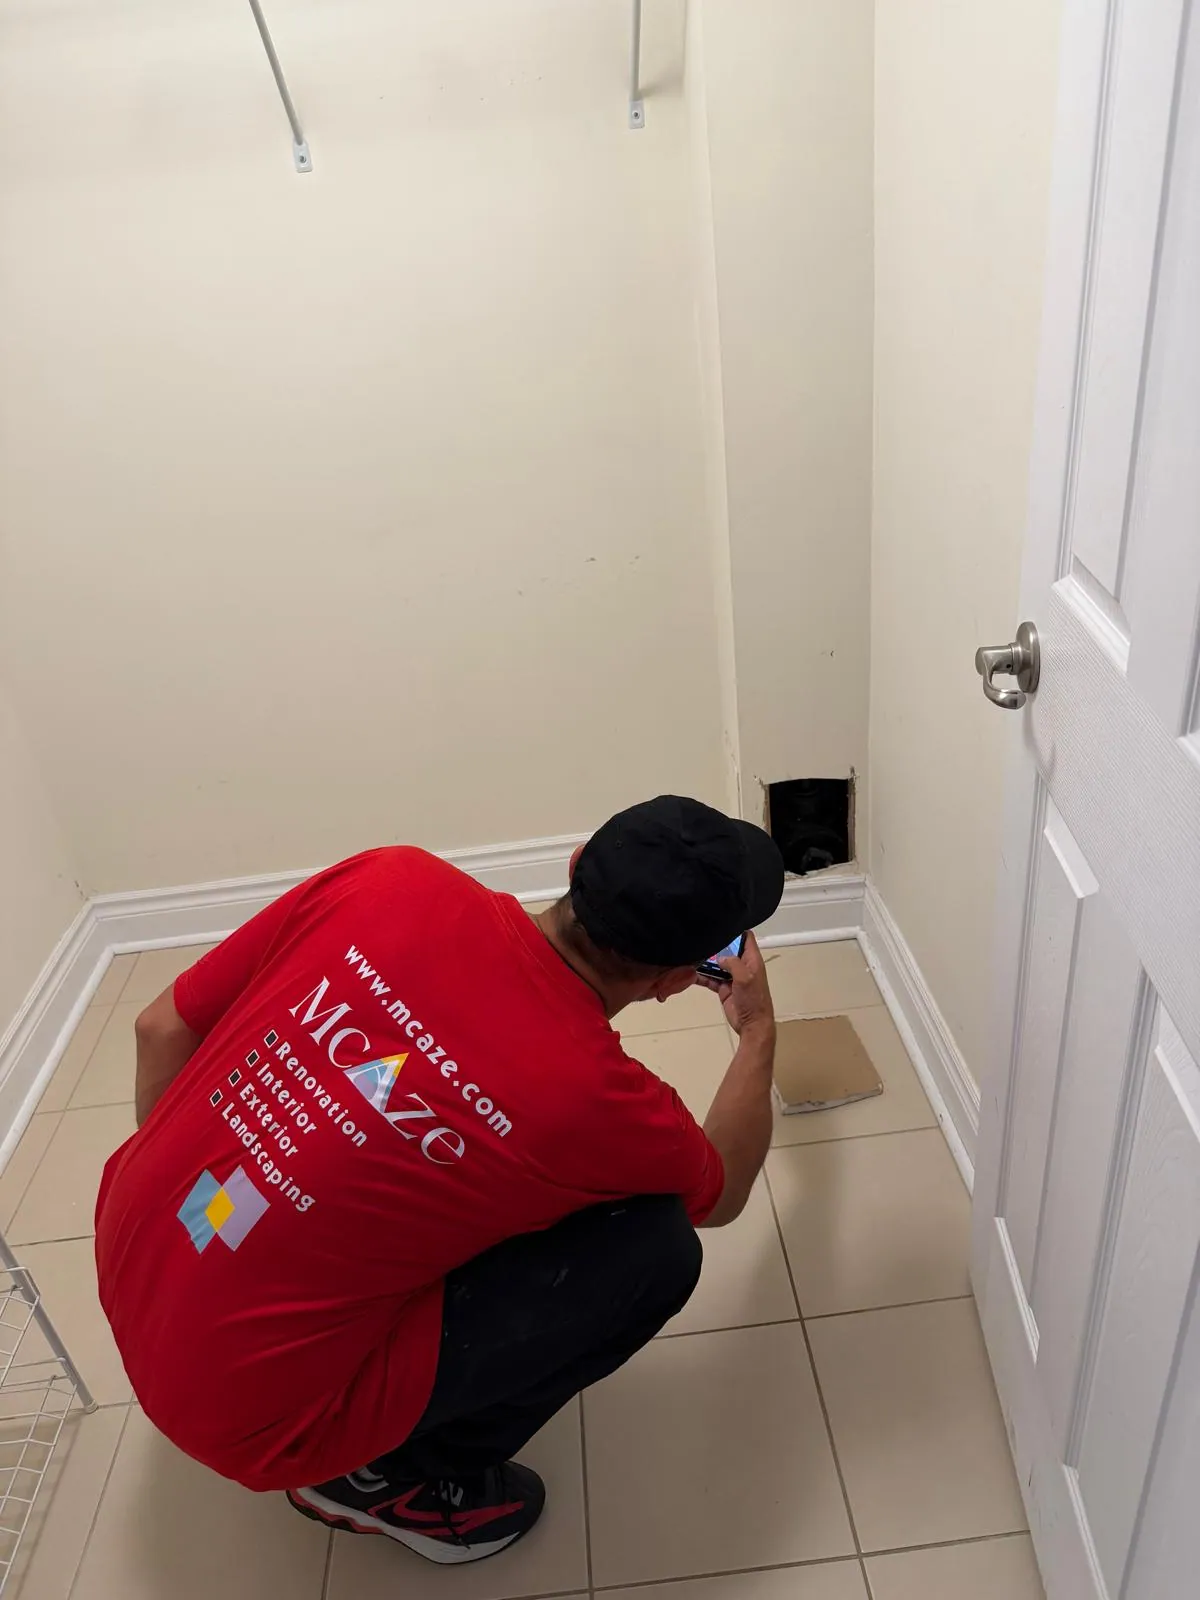
McAze inspection during a three-storey townhouse interior renovation in Thornhill

Featured Project · Thornhill, Ontario

3-Storey Townhouse Interior Renovation in Thornhill

A complete three-storey townhouse interior renewal in Thornhill, coordinating painting, hardwood refinishing, carpet removal, linoleum installation, staircase restoration and detailed door, window, trim and cabinet repairs.

Project overview

A coordinated interior renewal across three townhouse levels

A three-storey townhouse renovation is not simply the same room repeated on different levels. Each floor has its own traffic patterns, finish conditions and access constraints, while the staircase connects every work area. At this Thornhill property, McAze developed a complete interior-renovation scope around full painting, hardwood sanding and refinishing, carpet removal, new linoleum flooring, staircase renewal and targeted repairs to doors, windows, trim, drywall and kitchen cabinets.

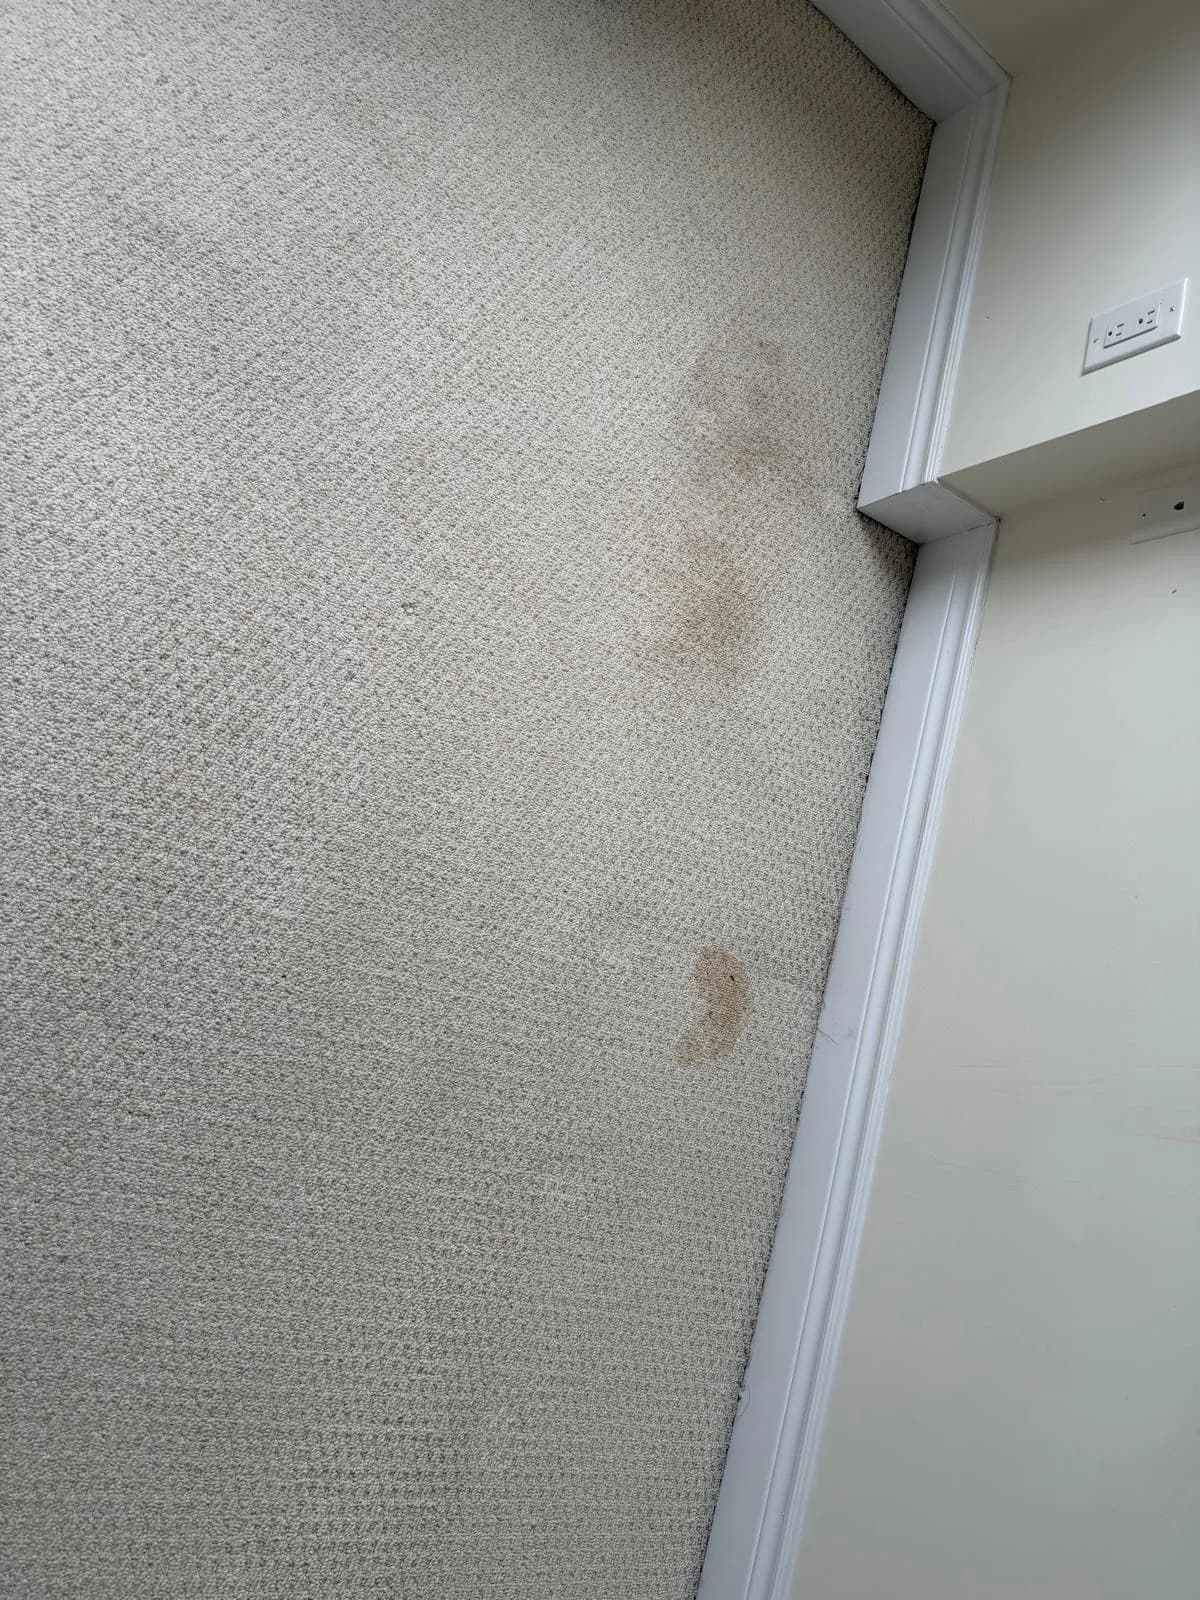
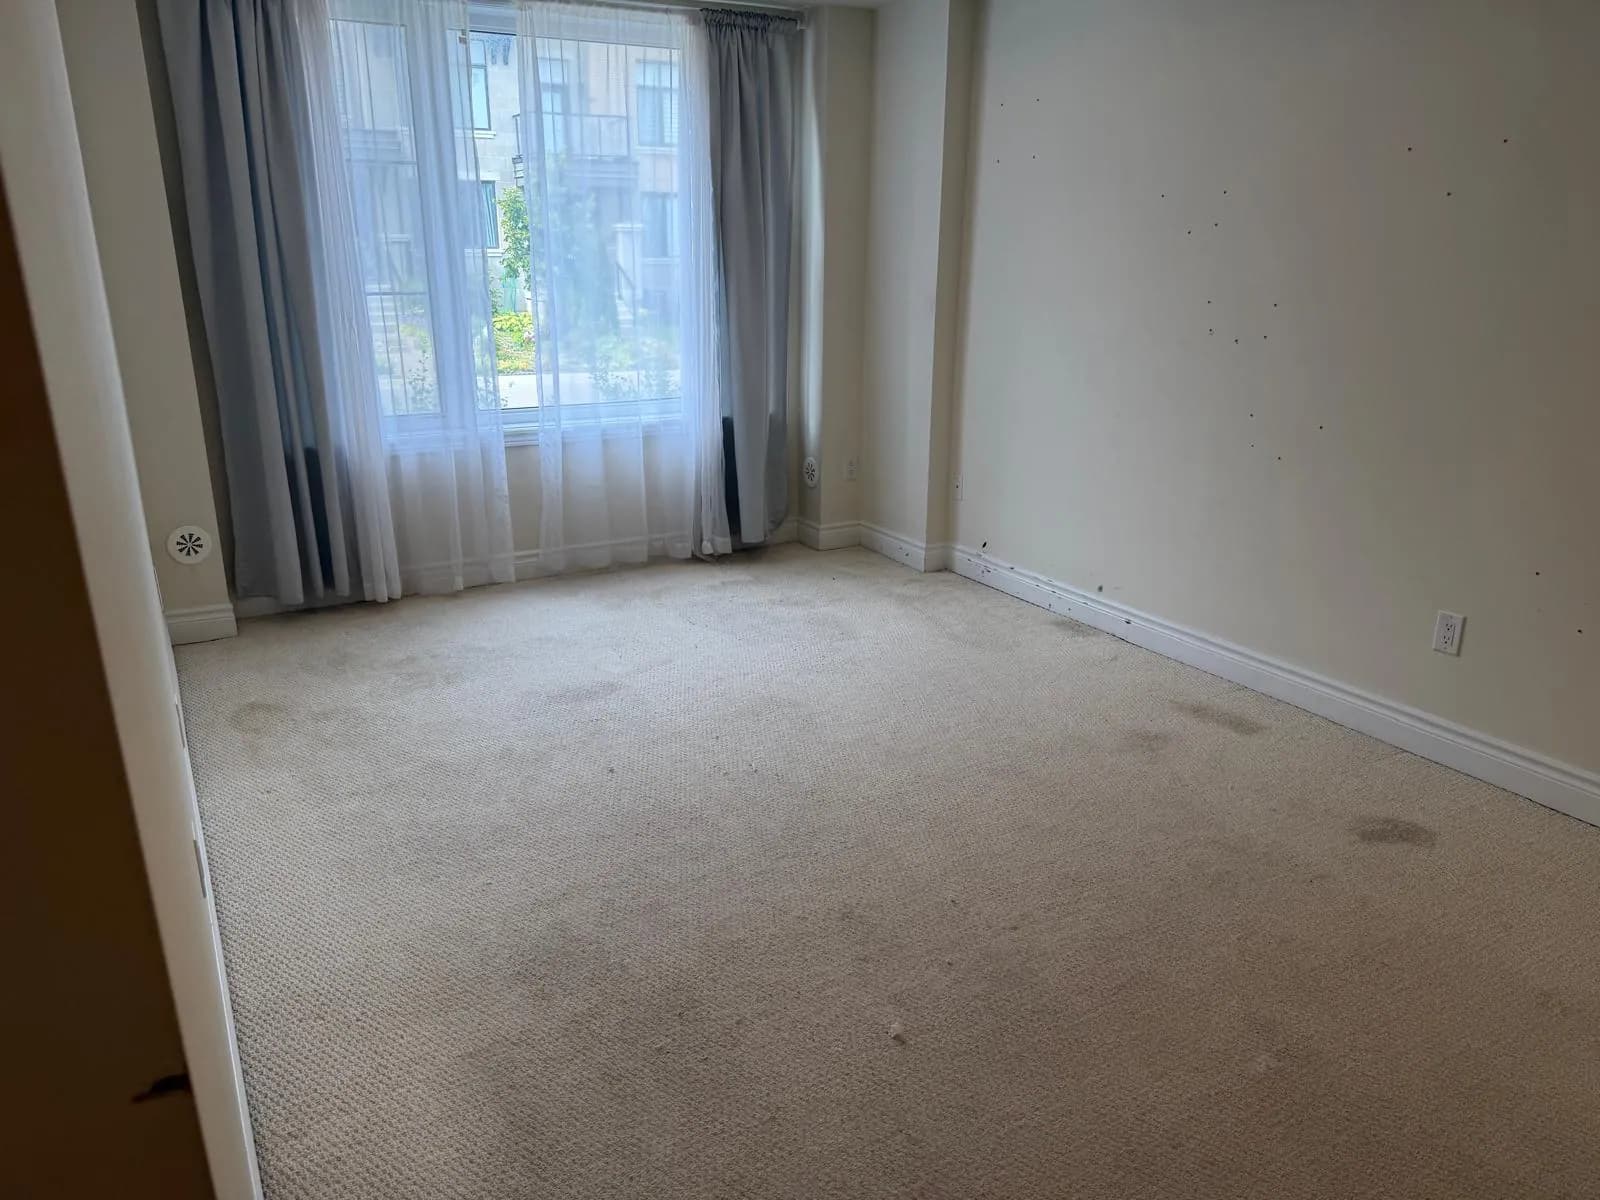
The initial site review identified visible wear accumulated across the home. Carpets were stained and compressed, hardwood surfaces were scratched, walls and ceilings needed preparation, and several windows, doors and cabinet finishes showed localized damage. Treating those items as separate service calls would have created repeated setup, inconsistent finishes and avoidable disruption. The project was therefore organized as one connected residential renovation.

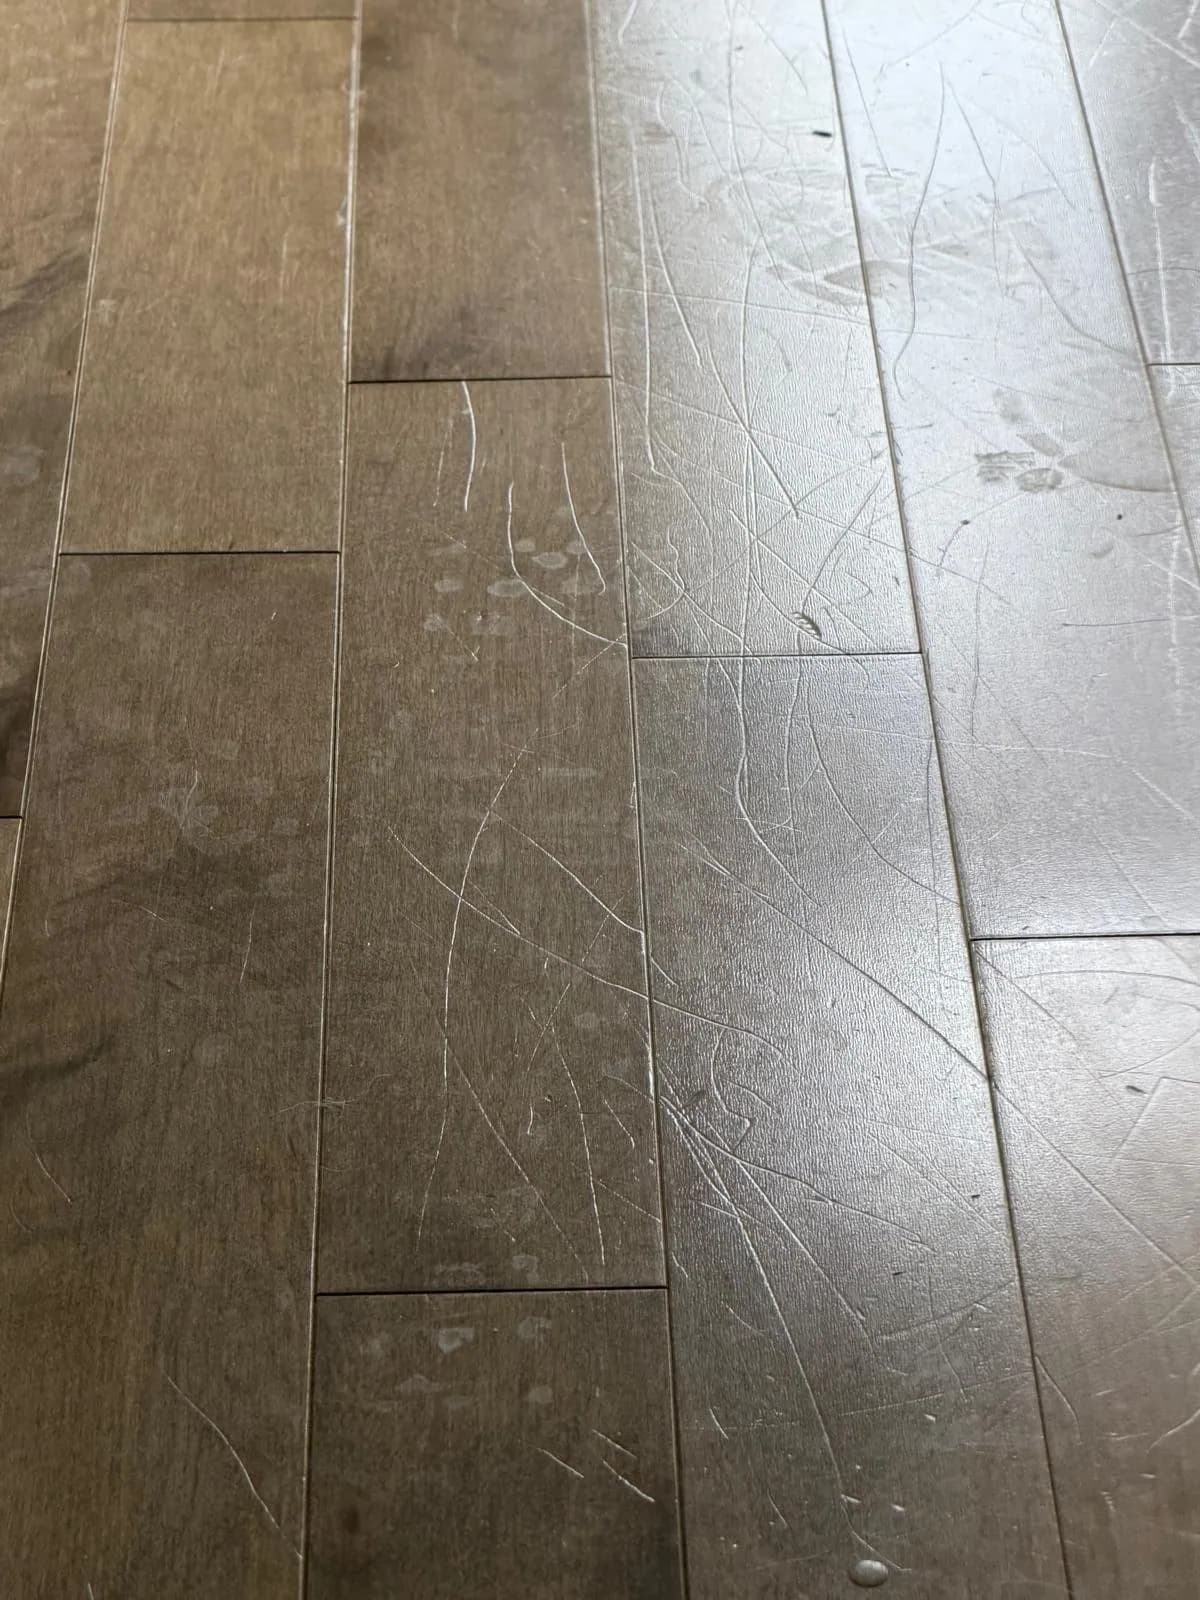
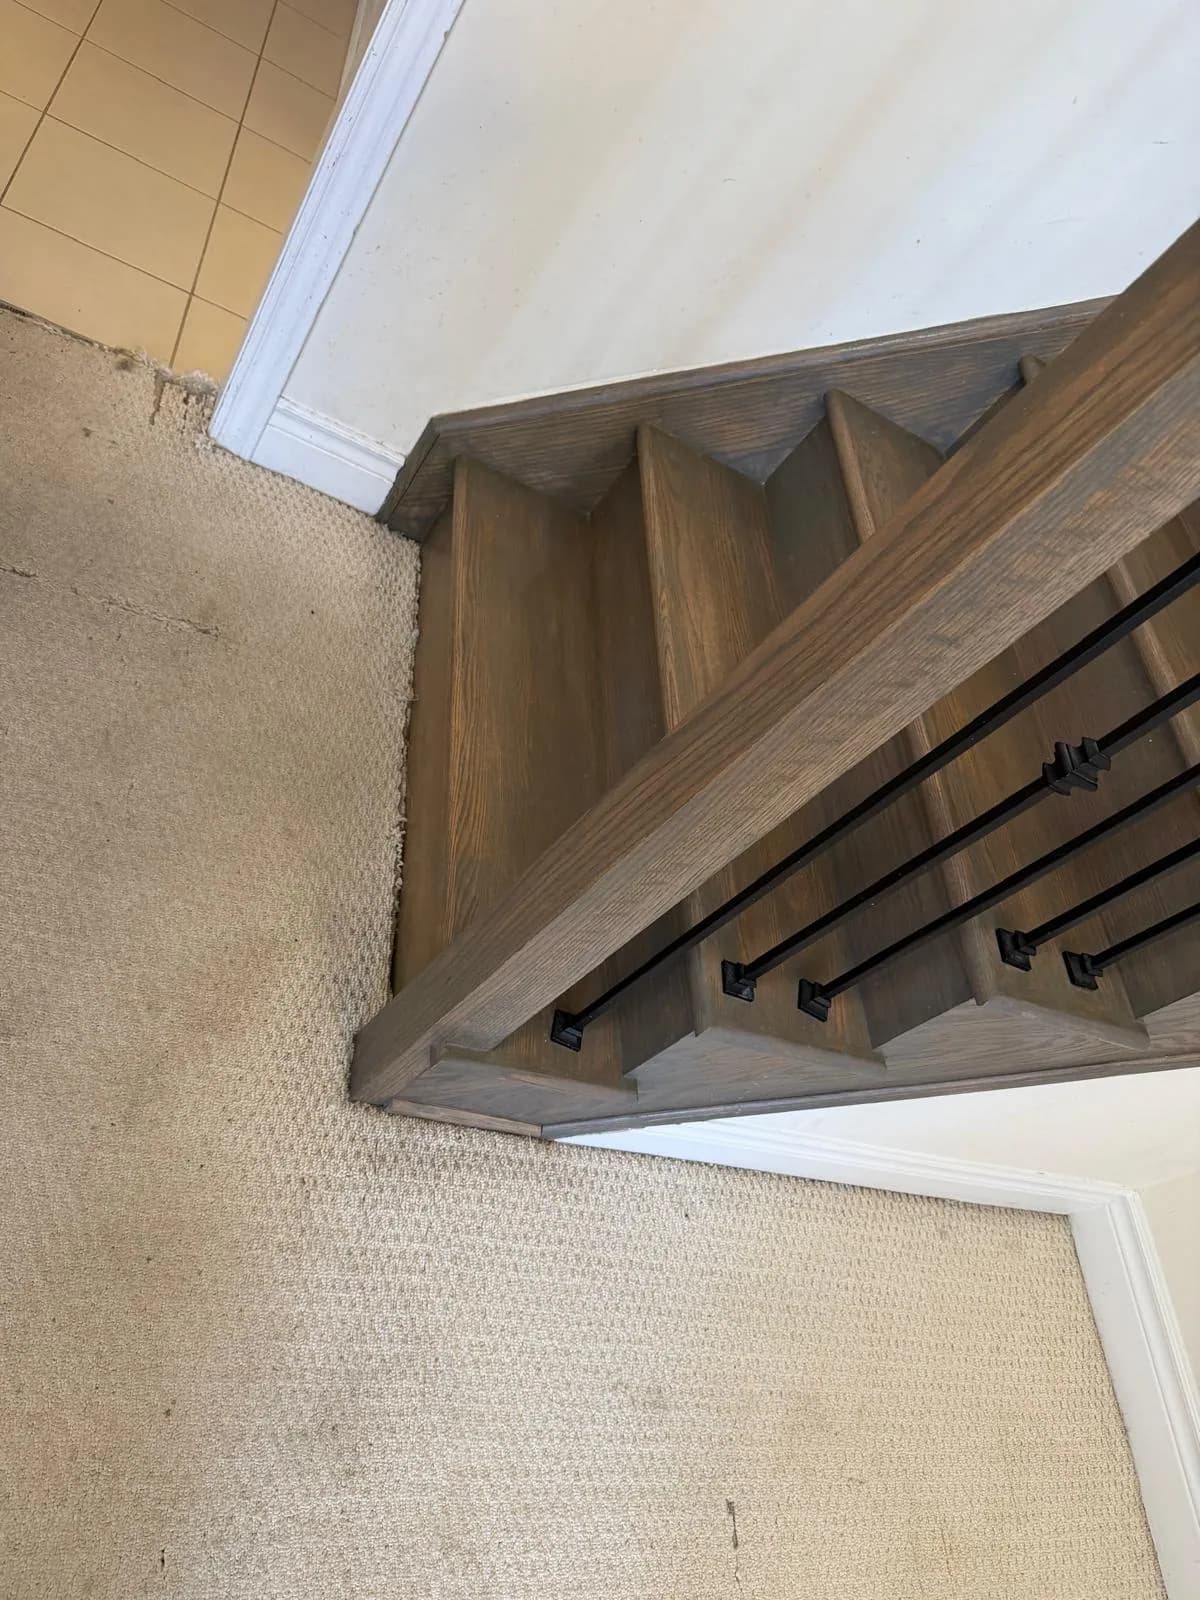
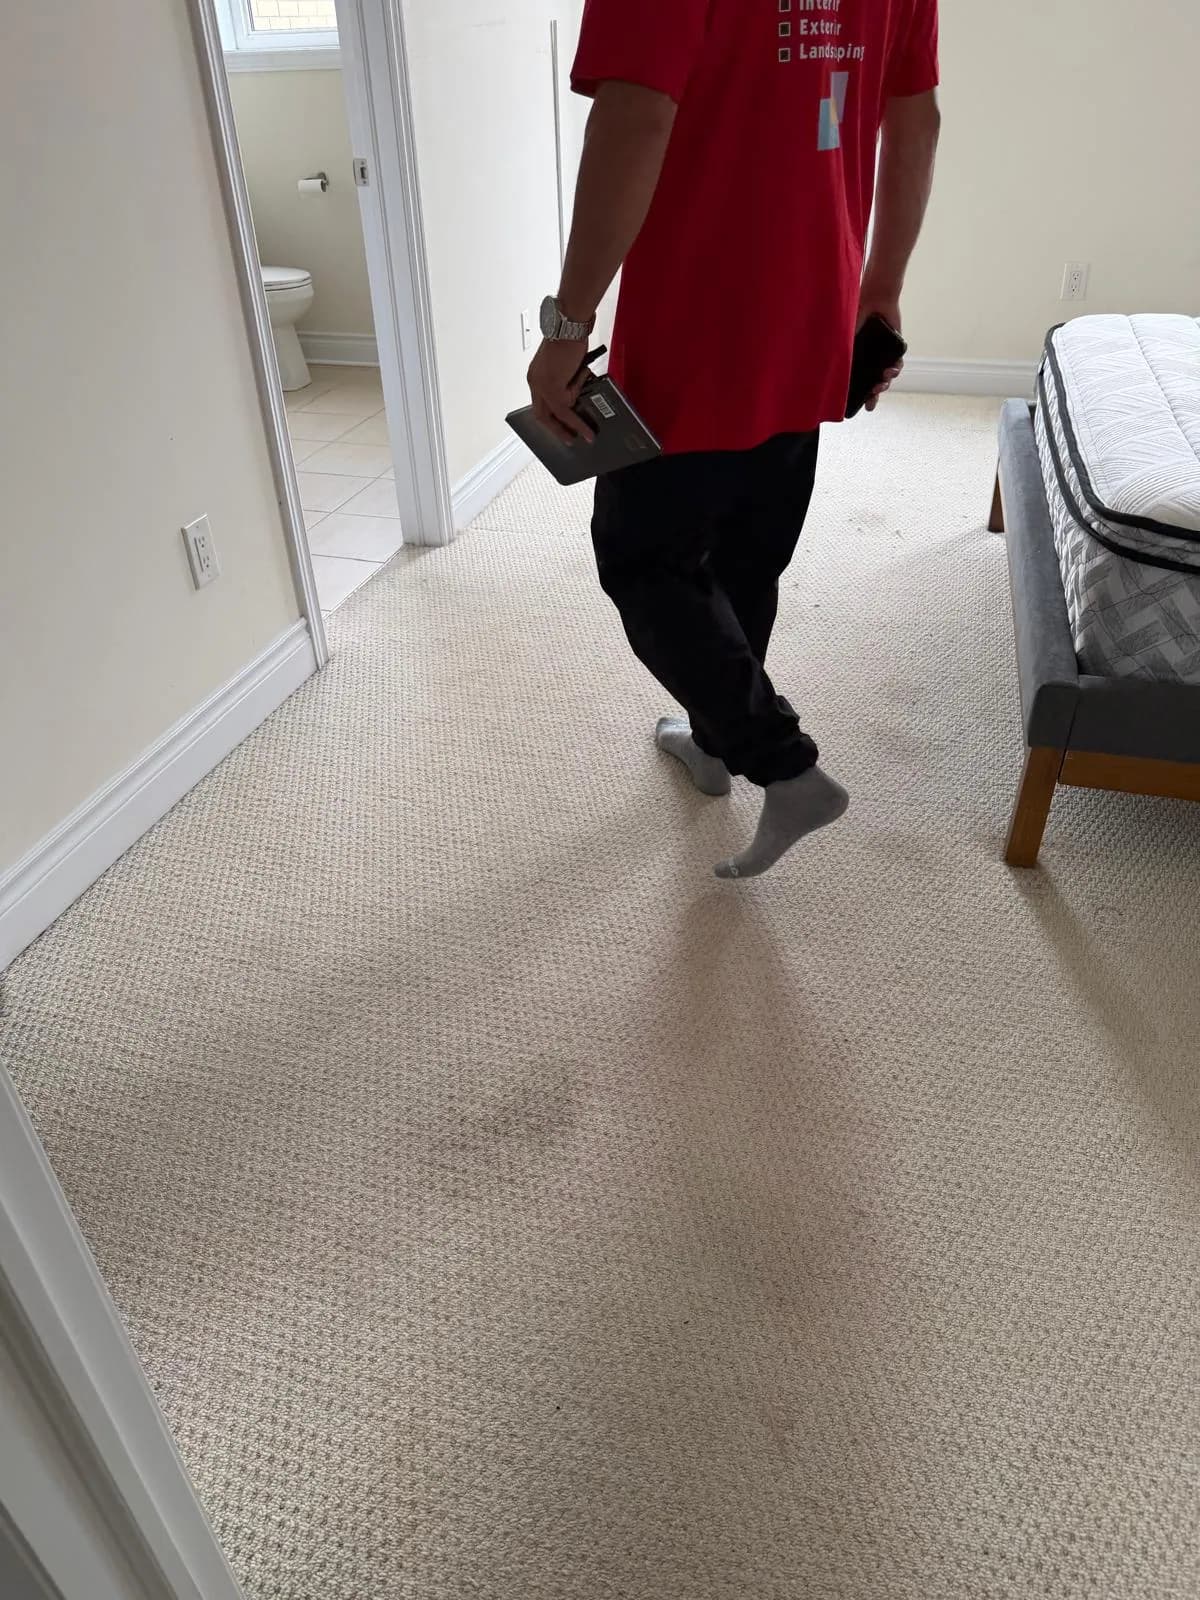
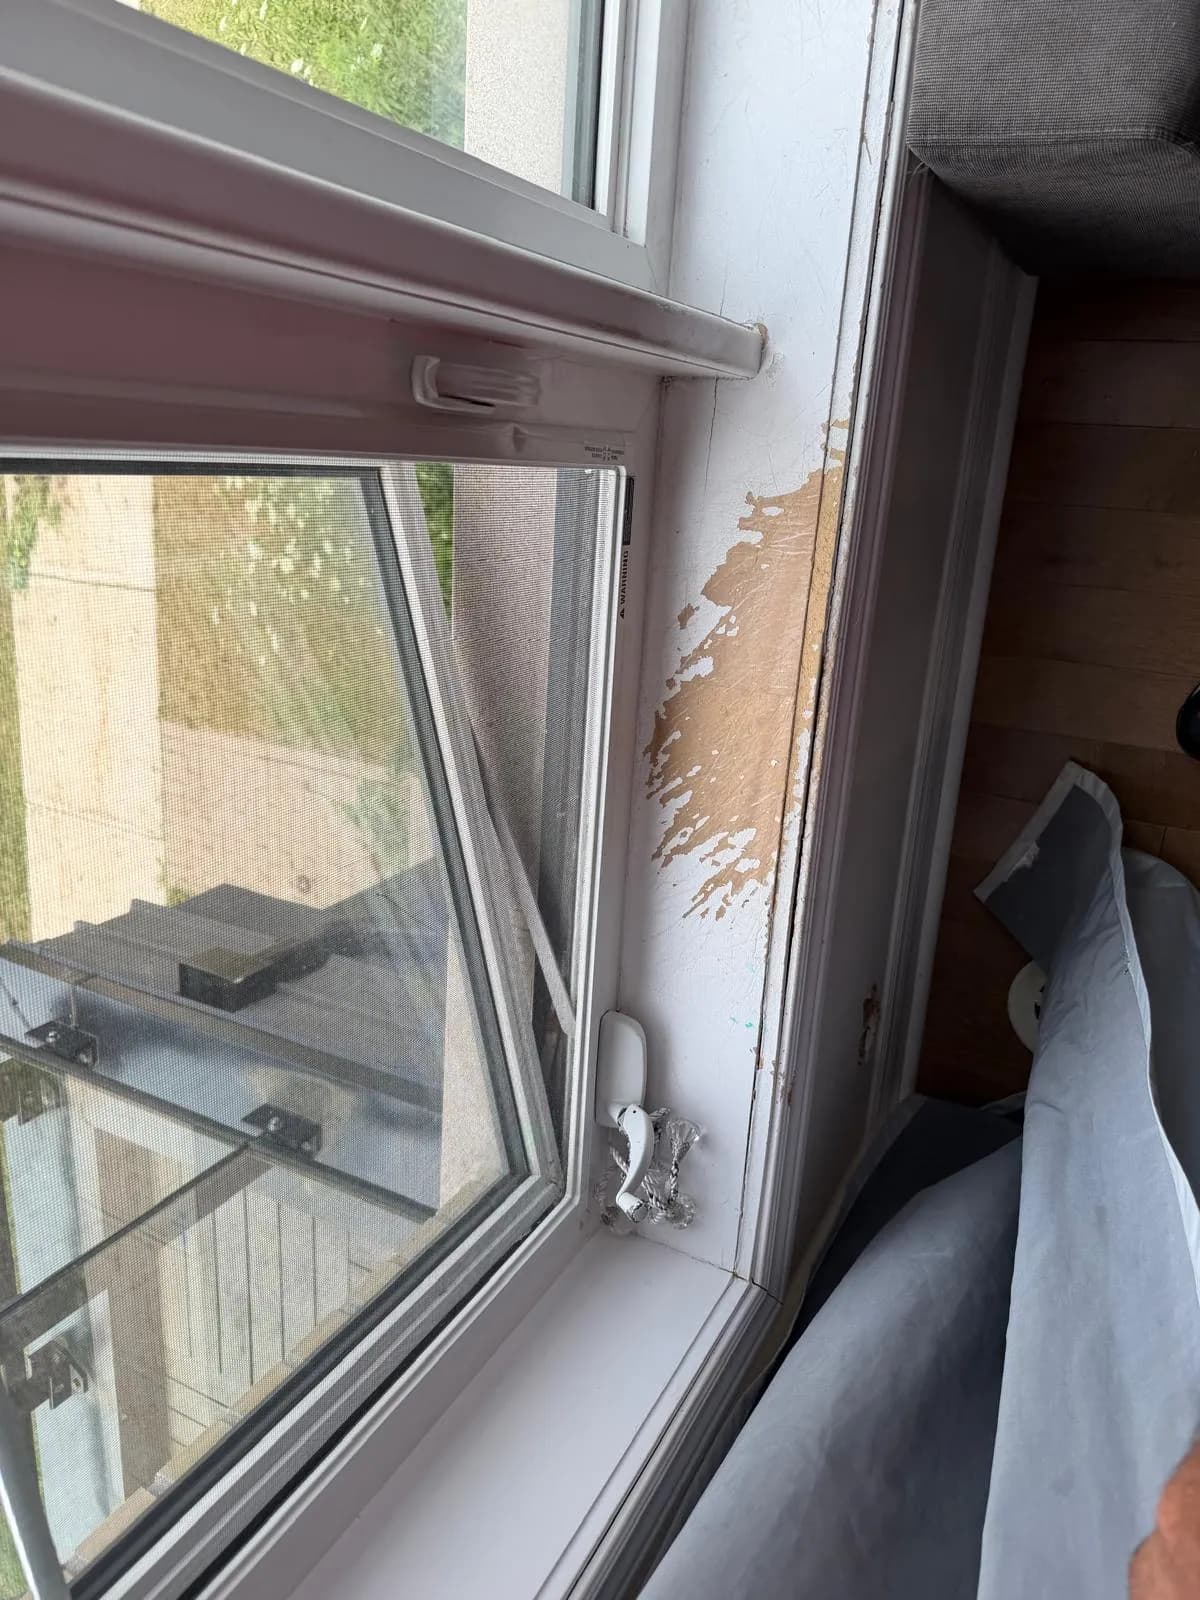
The photographs on this page record the before and inspection stages. They show the real conditions used to define the scope: worn bedroom carpet, damaged window sills, marked floors, tired stair finishes and cabinet edges requiring attention. Those details informed the preparation and sequencing plan that would lead to freshly painted rooms, renewed hardwood, new resilient flooring and restored interior components.
The challenge

Stains, worn finishes and connected repairs throughout the home

The work extended through three occupied-style levels connected by one primary staircase. Materials, tools and removed flooring had to move through narrow circulation paths without damaging surfaces scheduled to remain. The sequence also needed to keep freshly completed areas separated from dusty sanding and repair work.

Surface conditions varied significantly. A stain on a ceiling requires a different preparation strategy from a scuffed wall, a scratched hardwood board or a worn cabinet edge. Coating everything immediately would have hidden symptoms without addressing adhesion, movement, moisture history or damaged substrate conditions.

The flooring transitions added another layer of coordination. Carpet removal exposes the actual subfloor only after demolition begins, while hardwood sanding creates dust and requires controlled drying time. New linoleum needs a smooth, stable base and carefully planned edges at doors, stairs and adjacent rooms.

The solution

Detailed preparation followed by a practical floor-by-floor sequence

McAze began with a room-by-room and floor-by-floor inspection. Visible defects were documented, repair boundaries were identified and the relationship between painting, flooring and carpentry work was reviewed before finish materials were applied. This created a practical sequence and reduced the risk of reopening completed surfaces.

Preparation was matched to each material. Walls and ceilings were cleaned, patched, caulked, sanded and primed where required. Hardwood and staircase components were evaluated for sanding and refinishing, while carpets were removed so subfloor conditions could be checked before resilient flooring installation.

Doors, windows, trim and cabinet areas were treated as part of the final visual result rather than secondary details. Repairs, alignment checks and finish touchups were coordinated with the surrounding paint and flooring work. Final review focused on transitions, coating consistency, clean edges and dependable operation.

Complete scope

A complete townhouse renovation from inspection to final finishing

The work brought painting, flooring, staircase refinishing and detailed repairs into one coordinated scope so each surface could be prepared and completed in the correct order.

01

Three-storey interior condition assessment

02

Furniture, floor and circulation-area protection

03

Ceiling, wall, trim and drywall preparation

04

Full interior priming and painting

05

Hardwood floor sanding and refinishing

06

Existing carpet and underpad removal

07

Subfloor inspection and localized preparation

08

Linoleum flooring layout and installation

09

Stair tread, riser, handrail and trim renewal

10

Door and window inspection, repair and painting

11

Minor cabinet, caulking and finish repairs

12

Final touchups, cleanup and walkthrough

One renovation plan connecting every floor and finish

Whole-home coordination

One renovation plan connecting every floor and finish

Painting, floor work and repairs affect one another. McAze organized the townhouse as a complete interior system, protecting finished areas while moving logically from inspection and repair to sanding, coating and final touchups.

Project planning

Renovating a three-storey townhouse as one connected interior

Whole-home renovations work best when the order reflects how dust, access and drying time move through the property. At this Thornhill townhouse, the staircase served as both a work area and the main route between floors. That meant stair renewal could not be planned independently from upstairs carpet removal, hardwood refinishing or painting. McAze mapped the stages so crews could reach active rooms without repeatedly crossing finished surfaces.

The first step was separating defects that needed repair from finishes that simply needed renewal. Ceiling discoloration, window-sill deterioration, damaged cabinet edges and scratched flooring were recorded individually. This prevented a general painting allowance from being expected to solve issues that required carpentry, filling, sanding or a more specific primer.

A coordinated scope also gives the homeowner clearer decisions. Paint colours, sheen levels, flooring selection, transition details and the desired staircase appearance can be reviewed before work reaches the relevant floor. Product lead times and curing periods can then be incorporated into one schedule instead of becoming unexpected delays.

  • Inspect every level before confirming finish quantities
  • Sequence dusty work before final coatings
  • Protect the staircase while preserving safe access
  • Coordinate flooring transitions with doors and trim
  • Reserve final touchups until all trades are complete

Painting preparation

Treating stained ceilings, marked walls and worn trim correctly

Interior painting quality is established before the finish coat. Walls and ceilings were reviewed for stains, impact marks, failed caulking, small drywall defects and uneven previous touchups. Surfaces were prepared according to their condition, which can include cleaning, scraping unstable material, filling, sanding and spot priming. A stain-blocking primer is especially important where discoloration could migrate through ordinary paint.

Ceiling work requires attention to both the visible mark and its history. Before sealing a stain, the underlying source should be understood and confirmed inactive where practical. Paint can improve appearance, but it should not be used to conceal an unresolved leak. Once the substrate is dry and stable, the repaired area can be primed and blended into a consistent ceiling finish.

Trim, doors and window components receive frequent hand contact and need coatings suited to that service. Smooth sanding, clean edges and compatible primer support adhesion on previously finished wood or composite surfaces. Caulking was used selectively at appropriate joints, while moving or functional gaps were kept clear so painted components could continue to operate.

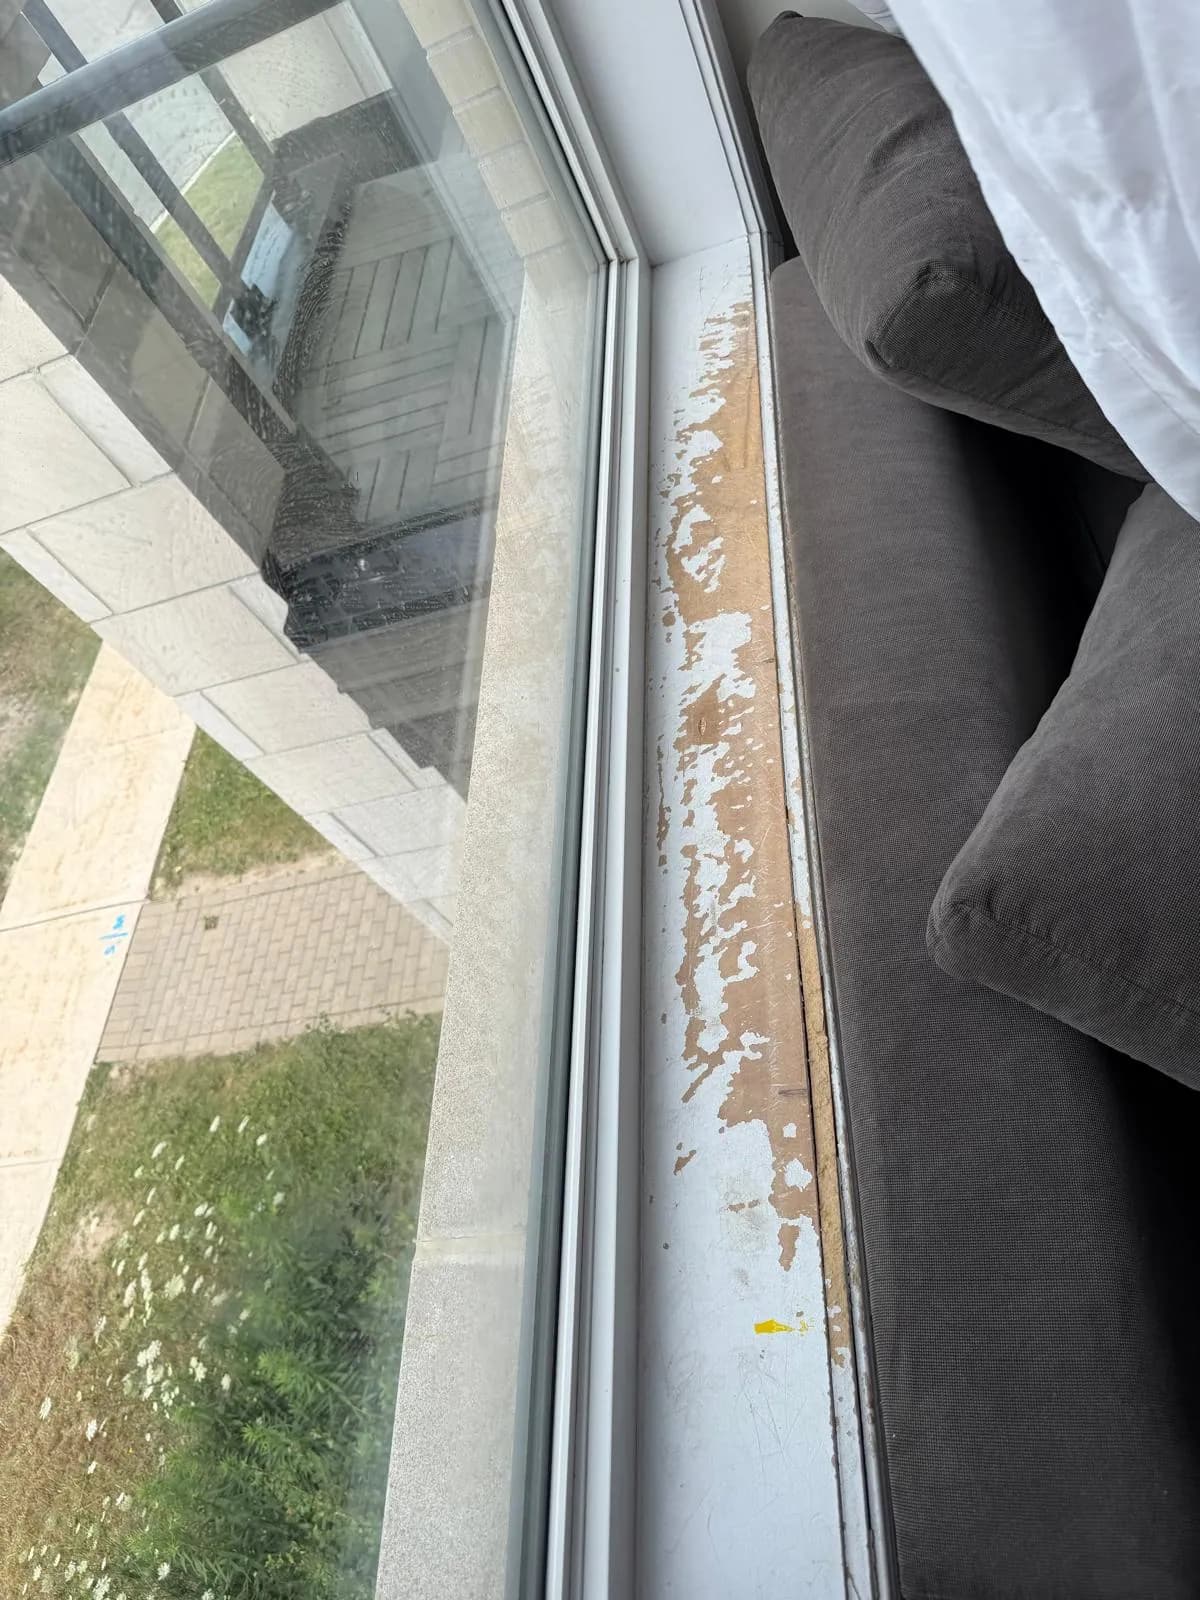
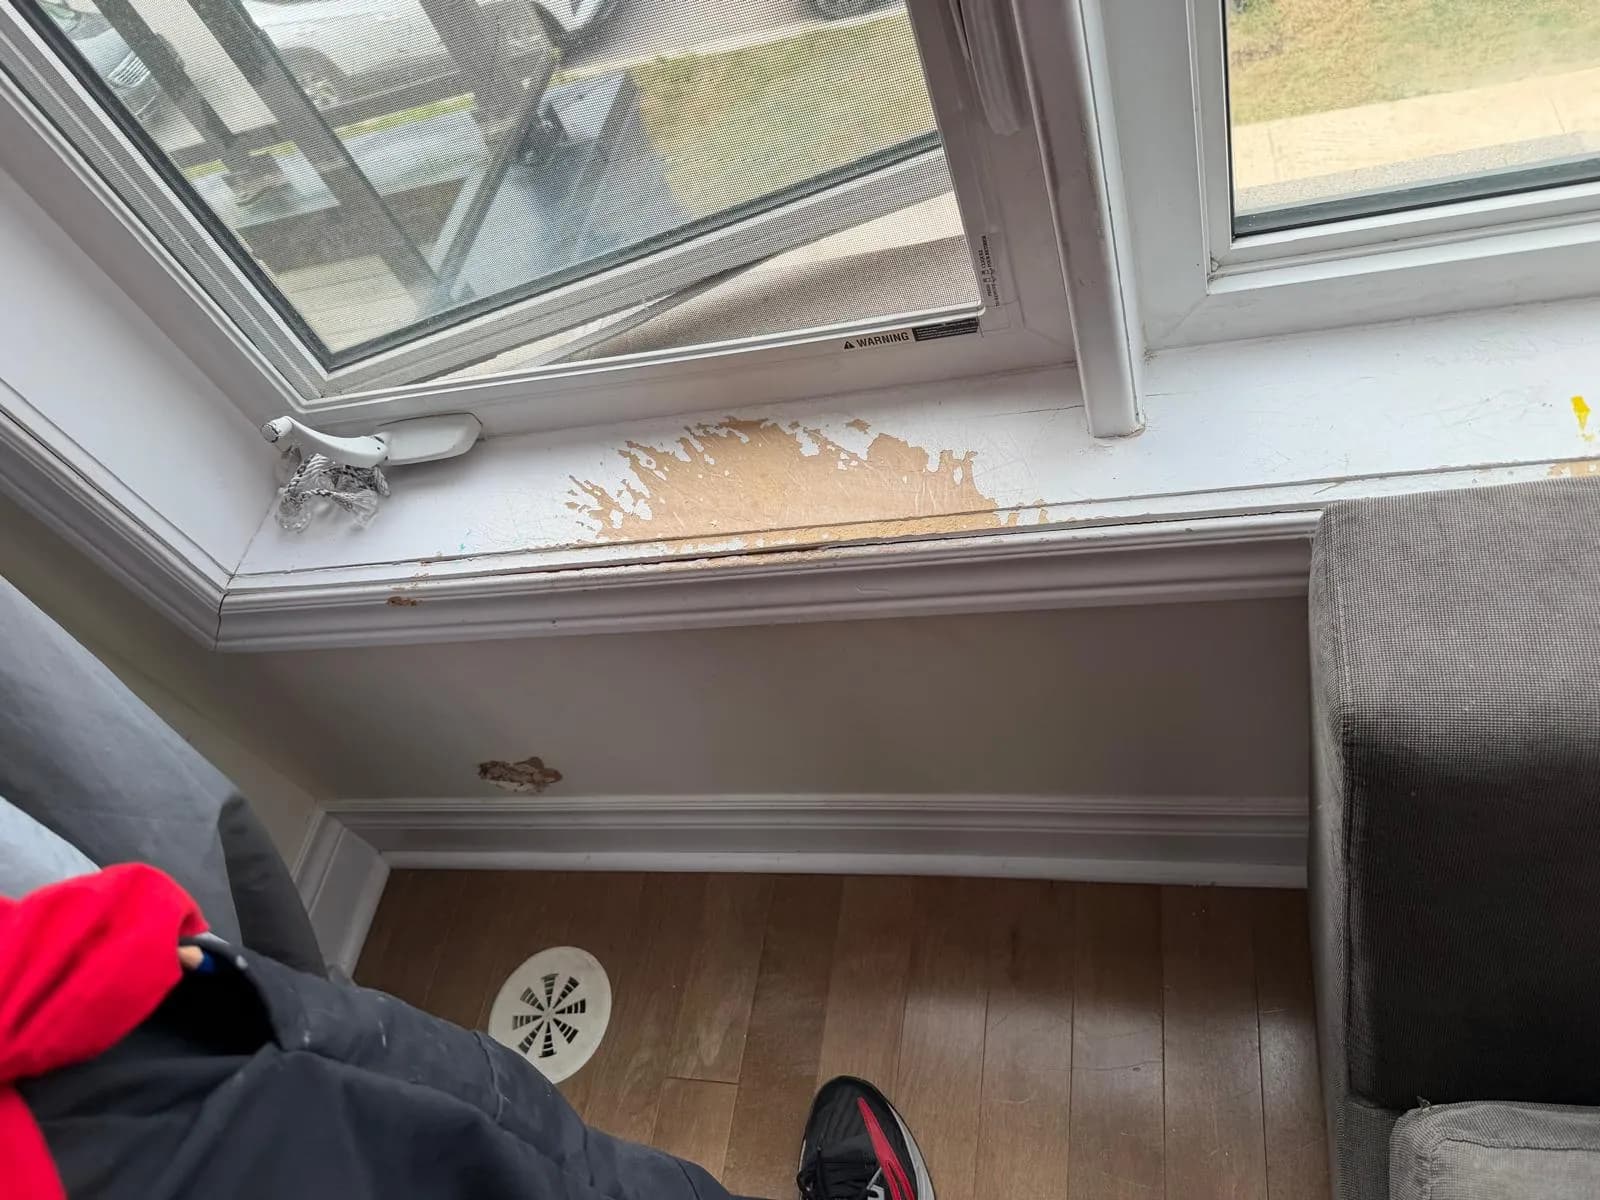
Peeling window frame finish before townhouse renovation
Before: window-frame deterioration was documented at close range.

Hardwood renewal

Sanding and refinishing scratched hardwood floors

Existing hardwood often retains significant value even after its surface becomes scratched or dull. The inspection photographs show wear that affects the finish and appearance rather than automatically proving the boards need replacement. Sanding removes the exhausted surface layer and prepares the wood for a new protective finish when the remaining material and installation are suitable.

The process requires controlled passes with progressively finer abrasives. Edges, corners and areas near stairs need separate attention so the overall sanding pattern remains consistent. Dust management matters throughout because airborne particles can settle into a fresh coating and reduce the clarity of the final surface.

After sanding, the floor is cleaned and reviewed before the selected finish system is applied. Colour expectations, sheen and compatibility with the existing species should be agreed in advance. Coats need the specified drying time, and foot traffic must be restricted until the surface is ready. Rushing access can mark the finish before it develops adequate resistance.

  • Confirm the floor is suitable for another sanding cycle
  • Repair or stabilize isolated defects before finishing
  • Use a progressive sanding sequence
  • Control dust before and between finish coats
  • Protect curing floors from premature traffic

Flooring replacement

Removing worn carpet and preparing for linoleum flooring

The townhouse carpet showed staining, compression and wear in several rooms. Removal included the carpet, underpad and fastening components, followed by cleanup of the exposed substrate. This stage is important because the true subfloor condition cannot be fully evaluated while the old flooring remains in place.

Linoleum is a resilient finish that depends on a smooth and stable base. High spots, damaged panels, fastener movement or uneven patching can telegraph through the finished surface. The subfloor therefore needed inspection and localized preparation before adhesive and flooring were introduced. Manufacturer requirements guide moisture, acclimation, adhesive and rolling procedures.

Layout planning considered visible seams, room geometry, thresholds and transitions to adjacent hardwood or stairs. Clean perimeter cuts and appropriate transition profiles make the installation feel intentional and help protect vulnerable edges. Baseboards and door clearances were coordinated so the new floor thickness did not create avoidable operational problems.

Staircase renewal

Restoring the central staircase without disconnecting the floors

In a three-storey home, the staircase is a dominant architectural feature and the route every phase of the project shares. The existing treads, nosings, risers, handrail and surrounding trim were inspected for wear and repair needs. The goal was a renewed, consistent appearance aligned with the adjacent flooring and paint palette.

Stair preparation can involve cleaning, filling localized damage, careful sanding and protecting components that will retain a contrasting finish. Handrails and walking surfaces also need practical durability. Coating choices and curing time must reflect regular contact and foot traffic rather than appearance alone.

Because the stairs could not simply be taken out of service throughout the project, their finish sequence was coordinated late enough to avoid construction damage but early enough to allow proper drying. Temporary access rules and protection were planned around the product system. Final review included edges, transitions and the relationship between renewed stairs and each landing.

Detailed repairs

Doors, windows, cabinets, drywall and trim complete the result

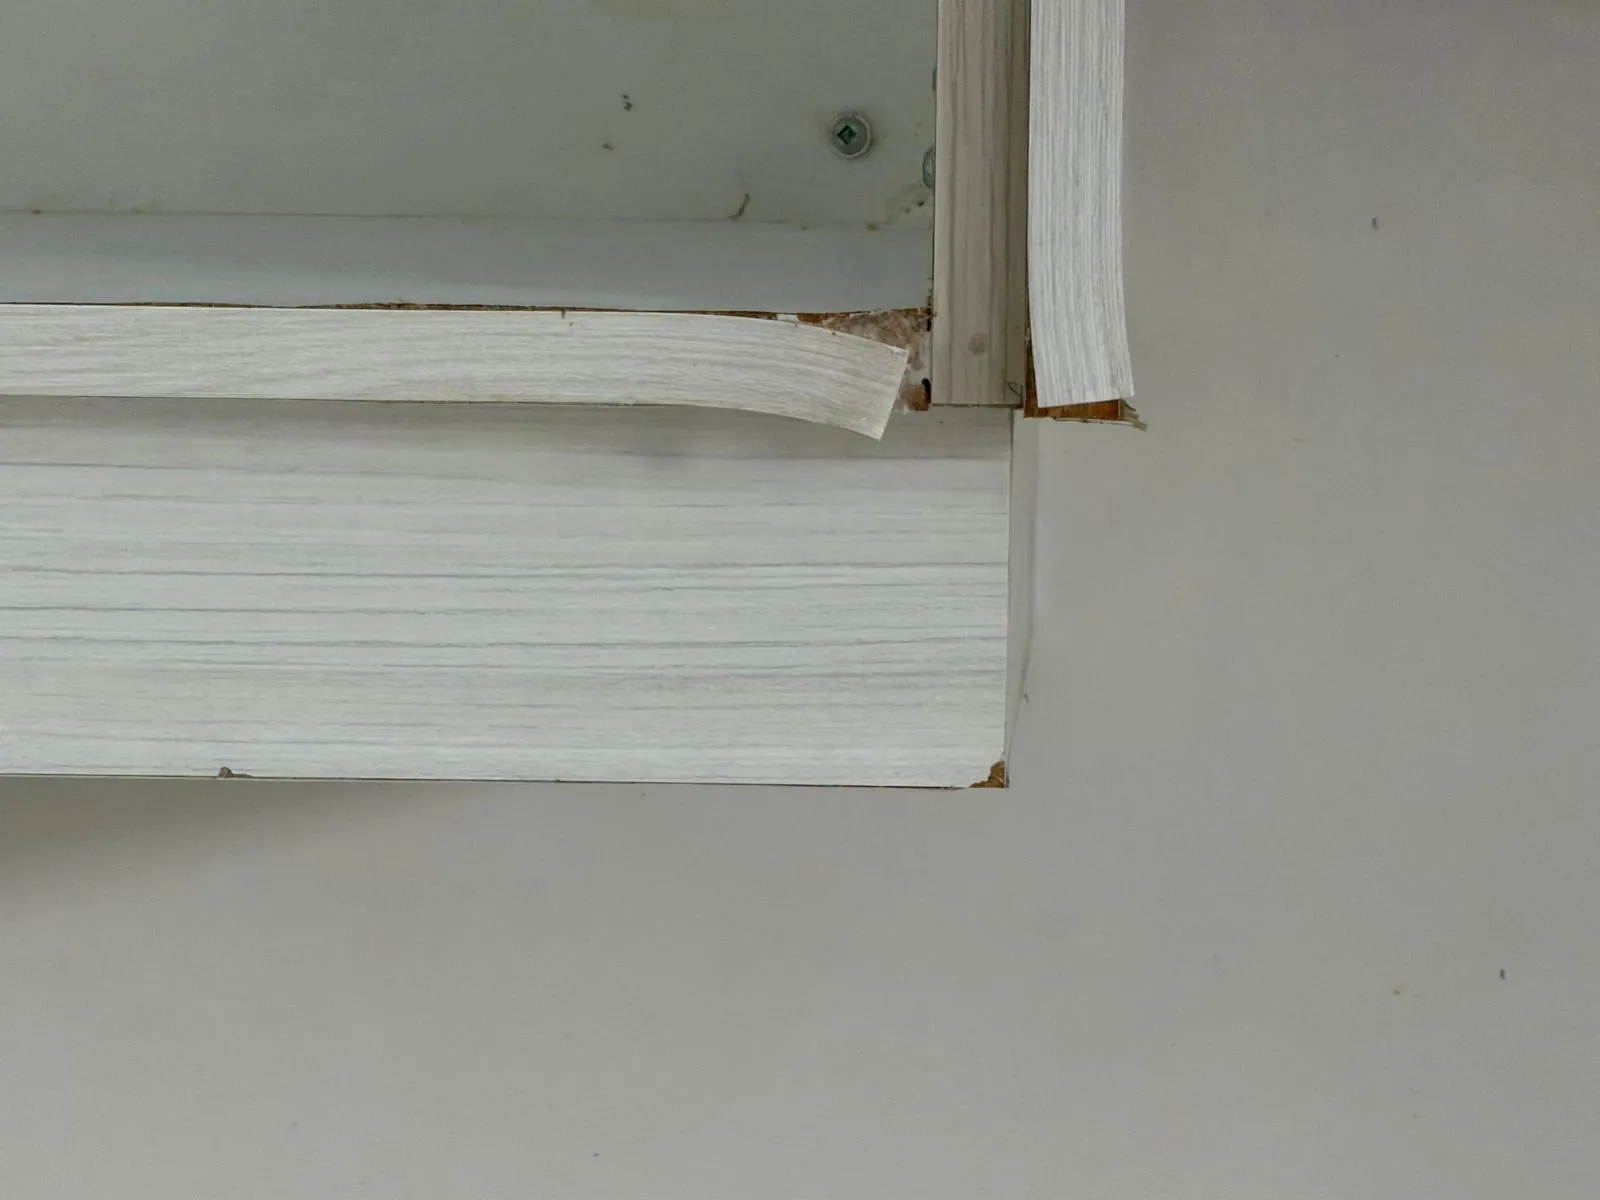
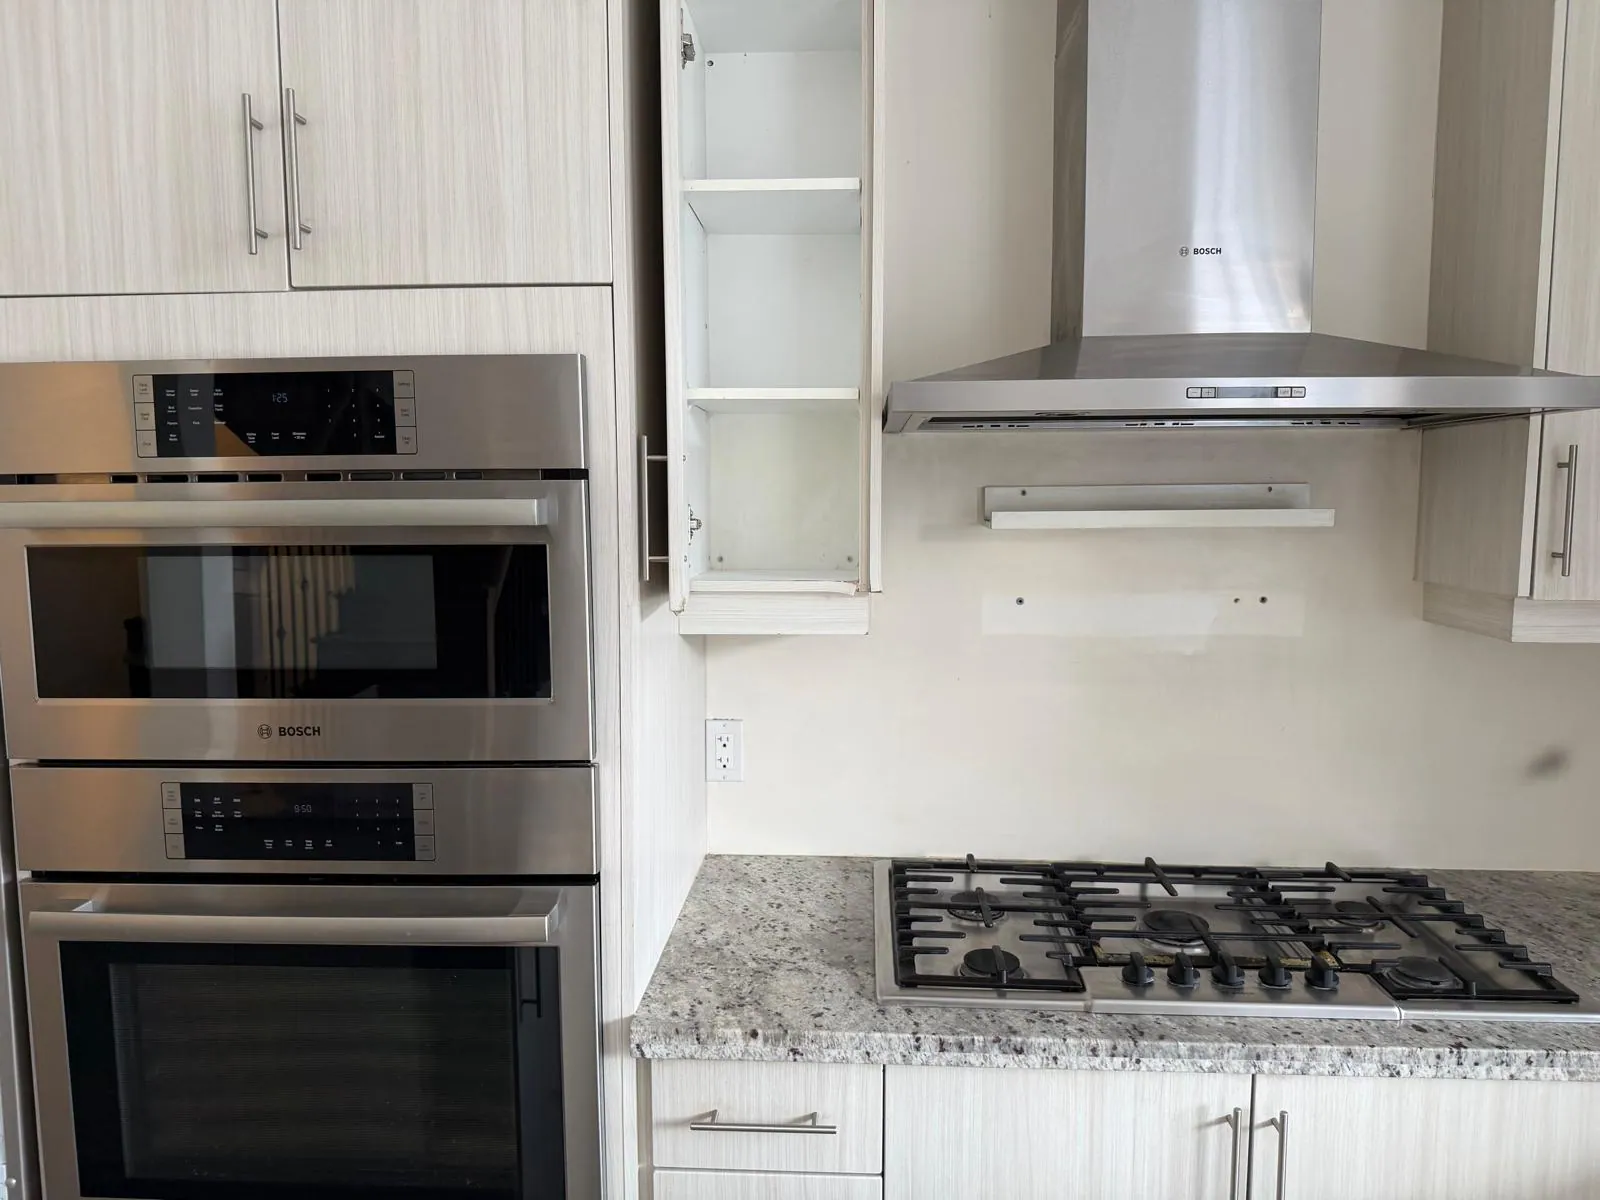
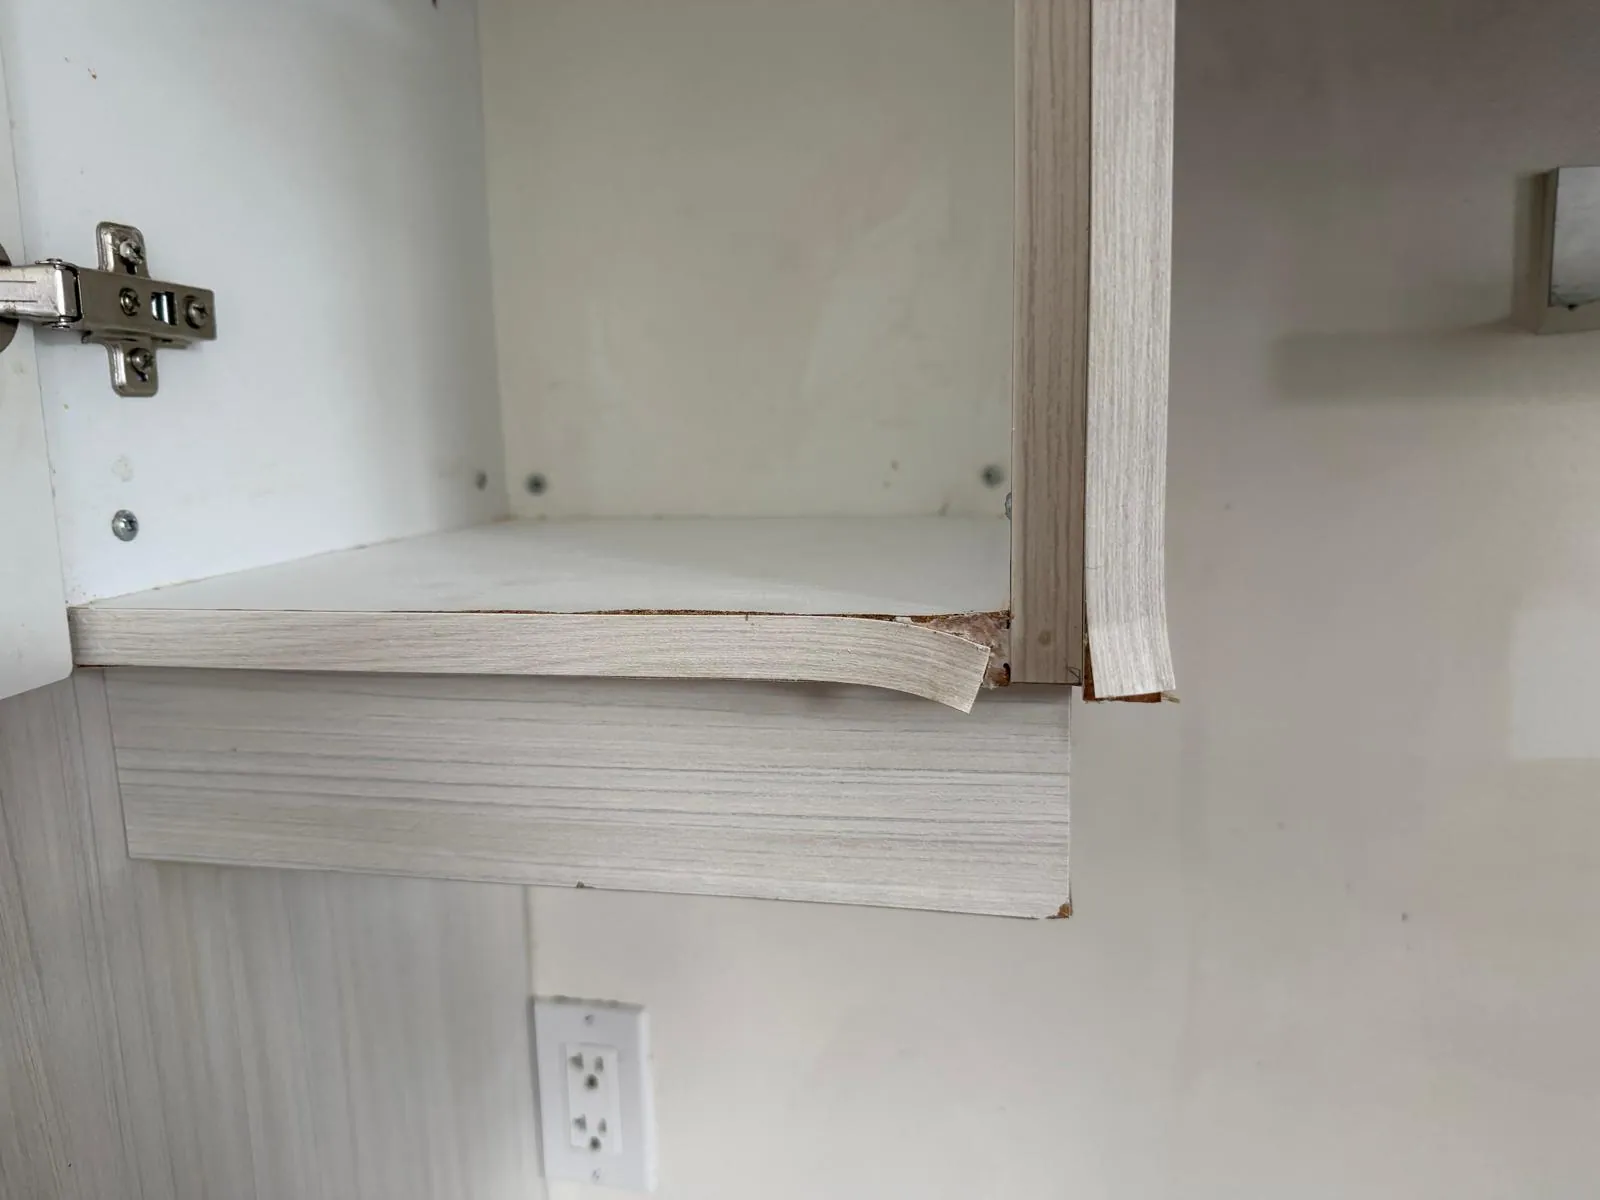
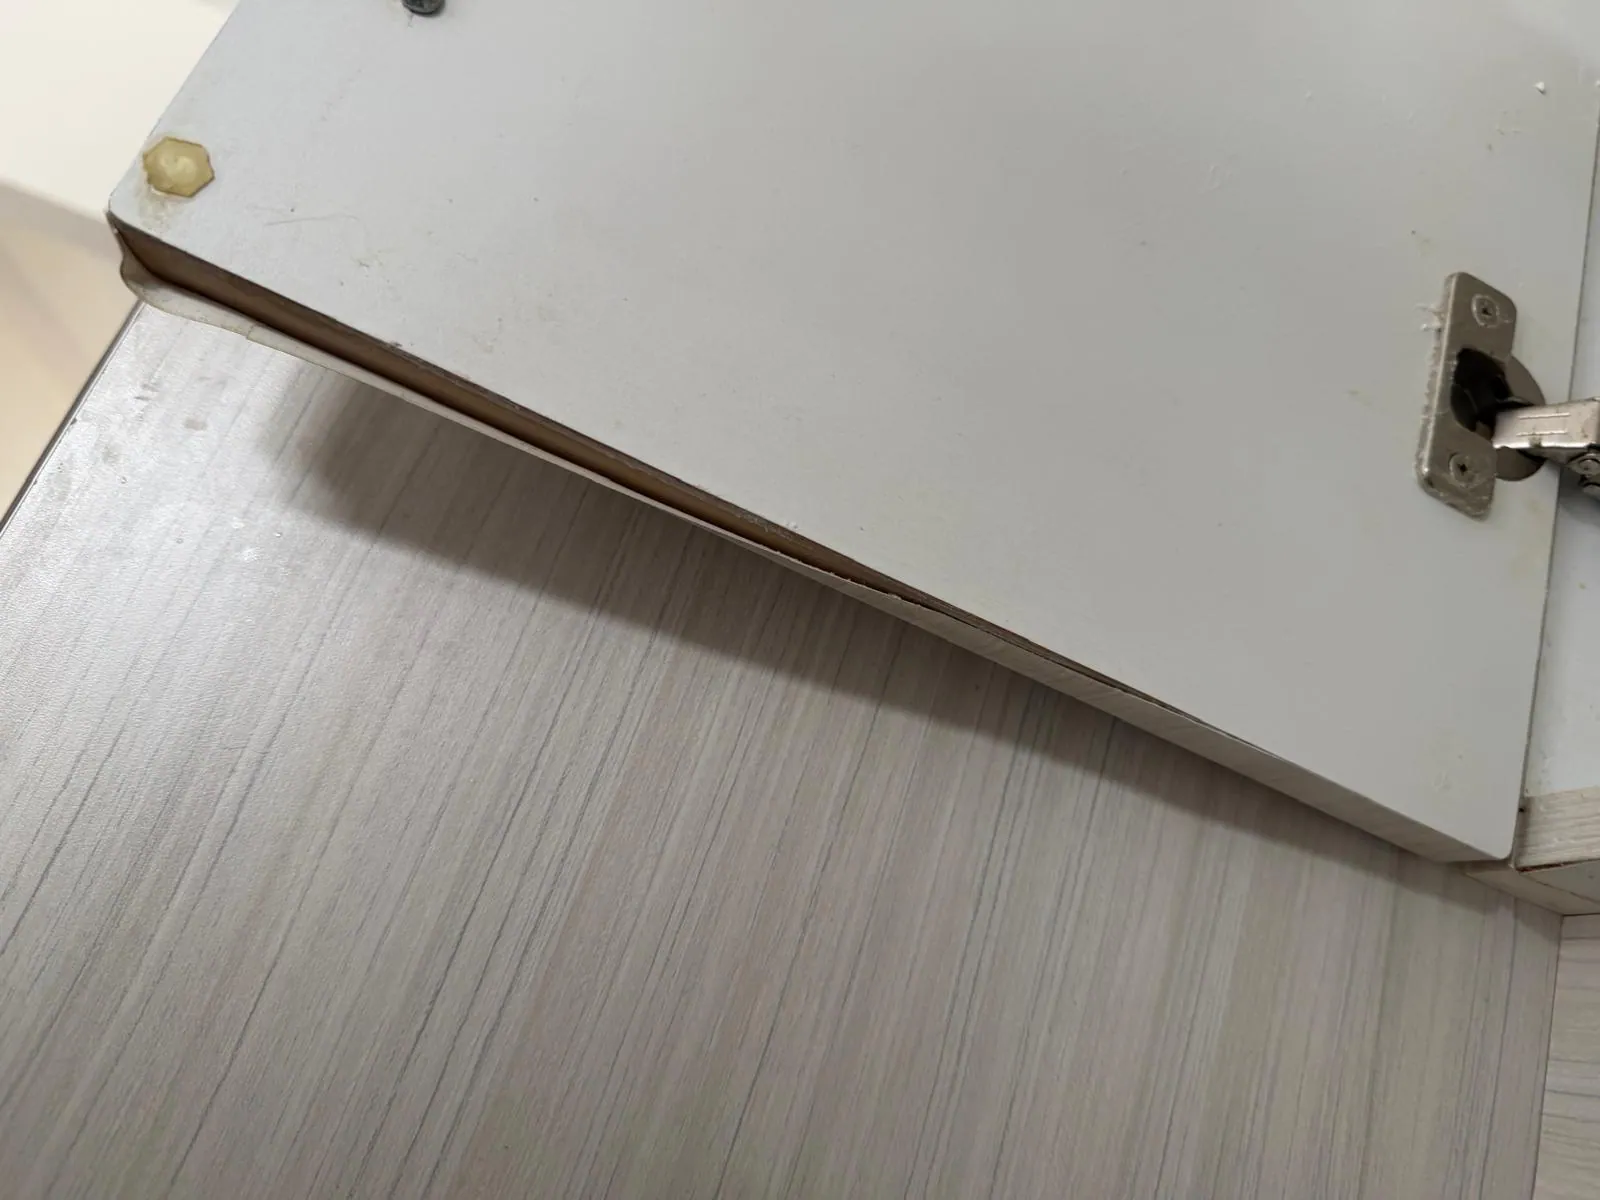
The project photographs document peeling or worn window finishes, door-operation checks and damage at kitchen cabinet edges. These are relatively small areas compared with three floors of painting and flooring, but they strongly influence whether a renovation feels complete. McAze included them in the inspection rather than leaving them as unresolved defects beside new finishes.

Window and door repairs begin with operation. A sticking sash, loose component or misaligned door should be corrected where possible before painting because a fresh coating cannot solve mechanical movement. Stable surfaces can then be filled, sanded, primed and painted with attention to seals, hardware and drainage paths that must remain functional.

Cabinet repairs were limited to the observed condition and suitable repair methods. Loose edges, worn surfaces and localized damage can sometimes be stabilized and refinished, while severely deteriorated components may require replacement. The chosen approach should match the cabinet material and the homeowner's expectation for colour and durability.

  • Test doors and windows before cosmetic finishing
  • Keep hardware, seals and drainage paths clear
  • Match repair methods to the cabinet substrate
  • Blend drywall and trim repairs under room lighting
  • Complete final touchups after flooring installation

Renovation logistics

Planning a townhouse painting and flooring project in Thornhill

Townhouses bring practical constraints that should be discussed before work starts. Parking, shared access, waste removal, material delivery and condominium or property-management rules may affect the schedule. Interior routes are often narrower than those in detached homes, so large flooring rolls, sanding equipment and protection materials need deliberate movement plans.

Homeowners can help the estimate by identifying rooms, desired finishes, known leaks or repairs, furniture expectations and any dates that affect access. Paint selections and flooring products should be confirmed early enough to verify availability. If the home will remain occupied, the sequence should define which rooms can stay usable and how dust-sensitive belongings will be protected.

McAze serves Thornhill and surrounding GTA communities with coordinated interior renovation work. A site visit allows the team to distinguish cosmetic renewal from substrate repair, confirm measurements and prepare a written scope covering painting, flooring, stairs and detailed finish work. That clarity gives the homeowner a stronger basis for comparing both price and project completeness.

Visible materials

Products and assembly components

  • Interior wall, ceiling and trim paint
  • Stain-blocking and adhesion primers
  • Paintable caulking and wood filler
  • Drywall compound and sanding materials
  • Hardwood sanding abrasives and floor finish
  • Linoleum flooring and approved adhesive
  • Subfloor patching and preparation products
  • Wood repair and staircase finishing materials
  • Masking, floor protection and dust-control supplies

Quality control

Checks before the work is concealed

  • Stains and damaged areas reviewed before coating
  • Repaired surfaces checked under normal room lighting
  • Paint edges, coverage and sheen consistency inspected
  • Hardwood sanding pattern and finish coverage reviewed
  • Subfloor condition confirmed before linoleum installation
  • Flooring seams, perimeter edges and transitions checked
  • Doors and windows tested after repair and painting
  • Stair components reviewed for secure, consistent finishing

Project FAQ

Questions about complete townhouse renovation

Practical planning guidance based on the painting, flooring and interior-repair scope documented at this Thornhill property.

Can painting and flooring be completed in the same townhouse renovation?

Yes. They should be sequenced as one plan so repairs and dusty preparation happen before final coatings and newly finished floors receive appropriate protection and curing time.

Can scratched hardwood be refinished instead of replaced?

Often it can, depending on the floor's thickness, stability, previous sanding history and depth of damage. A site inspection is required before refinishing is confirmed.

What happens after old carpet is removed?

The underpad and fasteners are removed, the subfloor is cleaned and inspected, and uneven or damaged areas are prepared as required by the selected linoleum flooring system.

Can stained ceilings simply be repainted?

The source should first be understood and inactive. Once the surface is dry and stable, suitable cleaning, repair and stain-blocking primer can be used before finish paint.

Does McAze renovate multi-storey townhouses in Thornhill?

McAze reviews complete townhouse painting, flooring, staircase and interior-repair projects in Thornhill and across the Greater Toronto Area.

Townhouse renovation in Thornhill, Ontario

Planning a full townhouse renovation in Thornhill?

McAze coordinates painting, flooring, stair renewal and detailed interior repairs across multi-storey homes in Thornhill and the Greater Toronto Area.

Renovation Services in Thornhill

Planning a full townhouse renovation?

Contact McAze for a free estimate covering painting, flooring, staircase renewal and the detailed repairs needed to make your townhouse feel complete again.

Get Free Estimate